For many small business owners that are just starting out, your company’s website is a source of both excitement and dread. Most entrepreneurs see their website as a make or break part of their business strategy, and they’re right.
The Anxiety of Creating a Company Website
It’s exciting to know that a great website is the single best marketing tool at your disposal. A well-executed website can help your business connect with your audience and position your company as an industry leader.
But this knowledge can also be incredibly overwhelming. For nearly a decade, I have been working with small business owners on their digital strategies and have seen just how anxiety-inducing the web design and development process can be.
This is particularly true for business owners that need to design and develop their website 100% in-house. No help. Just them, their computer and Google. If you find yourself in this situation, you can still create a beautiful, savvy and smart website for your business.
DIY Web Design Tips for Entrepreneurs
To start, follow these five simple, yet essential, steps.
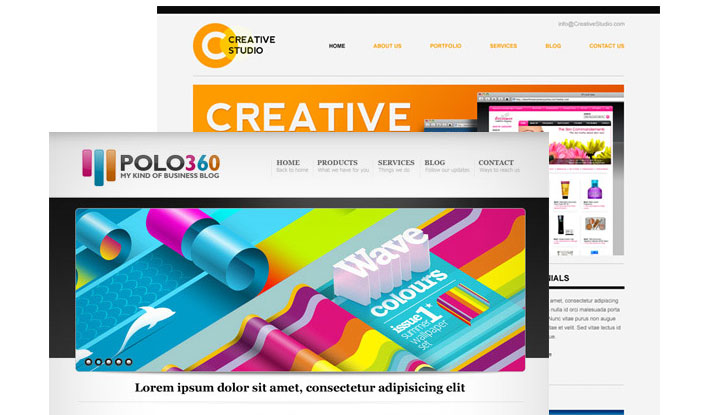
1. Find Your Inspiration
The first step to creating your dream website is to seek out inspiration. Create a folder on your desktop and start filling it with screenshots of the best site elements you love. Crop those images so that they focus on the specific elements you like.
For example, if you love the social icons on one site and the headline fonts on another, crop down to those particular elements. Why? This keeps you from inadvertently lifting huge portions of someone else’s design. Also, keep a notebook or word document open as you search for inspiration and make notes of what catches your eye and what turns you off.
However, if you find yourself snapping screenshots of more than one or two elements from any one single site, it is time to call in the copycat police. It can be tempting to be very inspired by one person or one company site, but it’s not fair to copy big chunks of someone’s design.
2. Lock Down Your Concept Development
So many DIYers skip this step! It’s critical to sit down and really plan out how you want your site to function and look. Review your inspiration file and figure out how to integrate your favorite elements into one cohesive design.
My dirty little secret? I use pencil and paper for this stage. For someone like me that lives online, stepping away from the computer and sketching out the site helps me focus on what I really want and need on the site. Also, by sketching out homepages on one long sheet of paper, I can see how all of the design elements will relate to one another, what might not work so well and what coding or technology issues I might run into as I take the design from paper to pixels.
Then I take these sketches and turn them into Photoshop designs. If you aren’t proficient in a design program like Photoshop, you can grab some colored pencils, a glue stick and other crafty items at your disposal and enhance your mock-up that way.
It is imperative that you do not skip this step! Especially for DIYers, taking time to create a “mock-up” can help keep you focused when you actually sit down to customize your site. This is the blueprint.
3. Piece Your Site Together
This is when you take everything that you’ve designed and bring it alive on screen. If you are using a CMS like WordPress, I strongly suggest searching out a template that fits with your design.
The key when searching for a website template is to focus on the grid and layout of the theme. It’s easy to customize colors, fonts and other visual elements with basic CSS knowledge. Changing the layout of page templates requires a higher level of expertise.
Thoroughly read the template’s documentation and learn how to use every bell and whistle that it offers. Customize as much of the theme as you can and get as close as possible to the mock-up that you’ve created.
One of the best things you can do at this stage of the game is to create a list of “must have” pages for your launch. What bits of content do you absolutely, positively need when the site goes live? Start with those pages only and perfect them in your design. It’s easy to add pages down the road.
© YFS Magazine. All Rights Reserved. Copying prohibited. All material is protected by U.S. and international copyright laws. Unauthorized reproduction or distribution of this material is prohibited. Sharing of this material under Attribution-NonCommercial-NoDerivatives 4.0 International terms, listed here, is permitted.